

Introduction:
Capturing precious moments with a camera has become an integral part of our lives. However, it's all too common to find unwanted objects or distractions in our otherwise perfect photographs. Fortunately, the world of digital editing offers a multitude of techniques and tools to effortlessly remove these imperfections and create stunning, flawless images. In this step-by-step guide here magic-eraser.com, we will walk you through the process of removing unwanted objects from your pictures, helping you transform your photographs into true works of art.
Step 1: Select the Right Editing Software:
To effectively remove unwanted objects from your photos, you'll need a reliable editing software. Popular choices include Adobe Photoshop, GIMP, and Pixlr. These programs provide a wide range of tools and features specifically designed for object removal and image manipulation.
Step 2: Duplicate the Original Image:
Before diving into the editing process, it's essential to make a duplicate of your original image. This ensures that you have a backup in case you want to revisit the original or if any mistakes occur during the editing process.
Step 3: Zoom In and Assess the Object:
Zoom in on the area containing the unwanted object and carefully assess its shape, size, and surrounding details. This step is crucial in determining the best approach and selecting the appropriate tools for object removal.
Step 4: Use the Healing Brush or Clone Stamp Tool:
For smaller objects or blemishes, the healing brush or clone stamp tool can be your go-to options. The healing brush samples pixels from a clean area and automatically blends them with the surrounding pixels, seamlessly removing the unwanted object. The clone stamp tool allows you to manually select a source area and paint over the object, replicating the sampled pixels onto the area you want to remove.
Step 5: Utilize the Content-Aware Fill Feature:
For more complex or larger objects, the content-aware fill feature comes to the rescue. Select the object, then choose the content-aware fill option. The software will analyze the surrounding pixels and intelligently fill in the selected area, seamlessly blending it with the rest of the image. Fine-tune the results by adjusting the brush size, sampling area, and other relevant parameters.

Step 6: Employ Selection Tools for Precision:
In situations where the unwanted object is intertwined with intricate details or overlaps with other elements, selection tools such as the lasso, polygonal lasso, or magnetic lasso can be invaluable. Use these tools to carefully outline the object, creating a selection that isolates the area you want to remove. Once selected, apply the appropriate editing technique—content-aware fill, healing brush, or clone stamp—to seamlessly remove the object.
Step 7: Refine Edges and Adjustments:
To ensure a flawless removal, spend time refining the edges of the edited area. Use tools like the eraser, brush, or layer masks to clean up any rough edges or inconsistencies. Pay attention to lighting, shadows, and textures to maintain a natural look. Adjustments such as brightness, contrast, and color can also be made at this stage to harmonize the edited area with the rest of the image visit magic eraser to know more details..
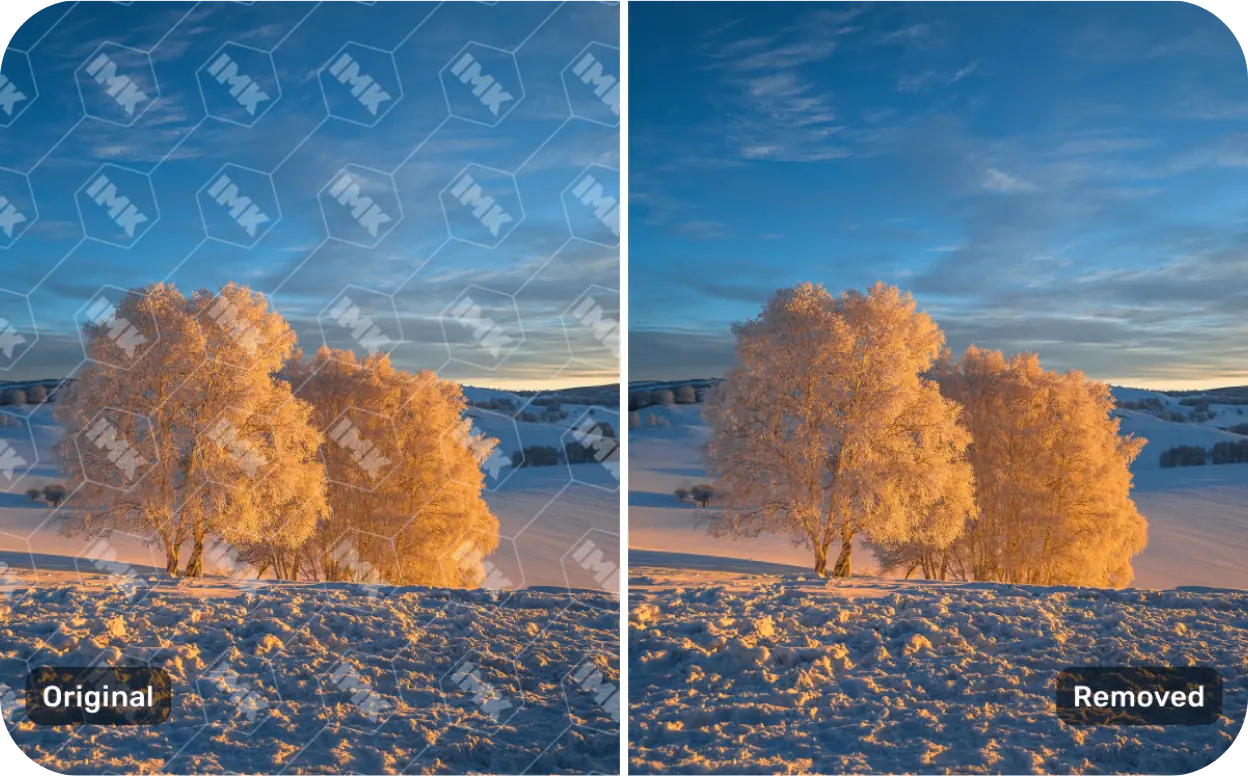
Step 8: Review and Compare:
Once you've completed the removal process, take a step back and review the edited image. Compare it side-by-side with the original to assess the effectiveness of your edits. Look for any remaining imperfections or areas that may require further refinement.

Step 9: Save Your Edited Image:
After achieving the desired results, save your edited image in a high-quality format to preserve all the details and enhancements you've made. This will ensure that you can revisit and share your beautiful, object-free photograph whenever you please.
Conclusion:
Removing unwanted objects from photos is not merely a technical process; it is an invitation to explore the infinite possibilities of visual storytelling. By harnessing the power of photo editing software, mastering essential techniques, and pushing the boundaries of creativity, you can transform your photos into captivating visual narratives that resonate with viewers. Embrace the possibilities, let your imagination soar, and redefine the limits of what you can achieve through object removal in your photographic journey.


0 Comments